|
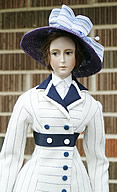
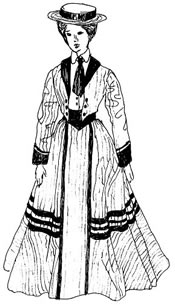
WIGS FOR 19th
CENTURY FASHION PLATE COLLECTION
A Three Part Series
This is the way the wigs were made for all of Lincoln
Mold Company’s fashion dolls.
Mohair is the choice of materials for the Fashion Plate
Collection. Only mohair gives the effect that is needed
for 19th century dolls. Start with the best quality
of mohair. There are several sources to from which to
order it. It can be purchased straight from the farm
unwashed, or washed and processed in different lengths
or purchased in wefts ready to use. Our wig instructions
will start with the wefts already made.
Part 1
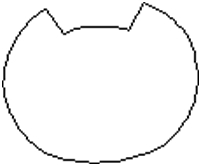
MAKING THE WIG CAP
You will need a porcelain doll head to form the wig
cap. Use the same doll head mold that you are making
the wig for, a flawed head that would have been discarded
will work very nicely. Remove the ears before firing.
Using paper towel cut 3 pieces large enough to cover
the hair area on the doll head. Wet the 3 layers of
paper towel. Palace the first piece over the head and
flatten it down with the palm of your hand. Place the
second paper towel in the same place on the head and
flatten it down. After the third piece has been added,
flattened all 3 pieces and press with the palm squeezing
out as much water as possible. Let it set over night
to dry. The paper towel is used to make room under the
wig cap for hair that will be glued inside it
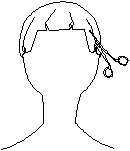
Place a piece of plastic wrap over the head, stretching
it down tight over the head. Secure the plastic with
a rubber band around the neck. Wrap the rubber band
around the neck several times to make it tight. Then
distribute the gathers in the plastic by pulling the
lower edge down while the rubber band holds it in place.
Place a second layer of plastic wrap over the first
and distribute the gathers in it also. Now the head
is ready to form a wig cap. It can be used several times
as it is. If the plastic becomes damaged, just replace
it. The top layer of plastic will be destroyed when
the wig cap is taken off the head. Just replace it for
the next wig cap
Now
available
Lady Marion 17
.
|